Sunday, 19 October 2014

Matcha Cupcakes

I had a friend who wanted me to make some cupcakes and she requested for a unique flavour compared to the usual chocolate or vanilla flavoured ones. I had a pack of good organic matcha powder leftover from the time I make matcha creme brulee so I decided that green tea was an unusual one to try in a cupcake. So I started my quest to search for a recipe through one of my many cupcake recipe books. I found this relatively easy recipe. 


Ingredients:
1 3/4 cups plain flour
1 tsp baking soda
1 tsp salt
3 tbsp matcha green tea powder
1 1/4 cup sugar
1 cup vegetable oil
3 eggs
1 1/2 tsp vanilla extract
1 cup plain yoghurt


Icing:
300gm icing sugar
50gm unsalted butter
1 1/2 tsp matcha powder
125gm cream cheese

Method:
- Preheat oven to 160 deg celcius.
- Sift together flour, baking soda, salt and matcha powder in a bowl. Set aside.
- Combine sugar, oil and vanilla extract in a large bowl, cracking in one egg at a time and mix thoroughly.
- Add 1/3 of the flour mixture to the wet ingredients, then add 1/3 of the plain yoghurt and mix. Continue alternating between the flour and yoghurt until all has been added.
- Pour the batter into 2 x 12 cup muffin tins line with baking cups and bake for 20 to 25 mins. (This recipe can also be make into 2 x 8-inch round tins just bake for 40 mins)

Icing:
- Beat the icing sugar, butter and matcha powder in a mixer on  medium low speed until mixture comes together.
- Add the cream cheese and beat until it is completely incorporated. Beat until the frosting is light and fluffy for at least 5 mins.
- Frost on cool cupcakes.


This flavour is an acquired taste, if you do not generally have match this flavour might come across as weird as describe by my kiddo and husband both of whom are not Asian so they probably might not know how to appreciate it. If you have not had matcha but is feeling brave, do give this recipe a try and judge for yourself.

Sunday, 12 October 2014

Blueberry Crumble Slice

After six months of living in our new home, me and hubby felt that the house looks decent enough to invite guests over for a housewarming. So I started planning the menu which of course had to include desserts, I've been wanting to try this recipe ever since I found it. This is one of those simple recipes that cannot go wrong, so great for anyone to give it a go.


Ingredients:
Base
1 cup of Sugar
3 cups of Plain Flour
1 cup/250gm Cold Butter (cut into cubes)
1 large Egg
1 teaspoon of Baking Powder
Zest of one lemon
1 teaspoon Vanilla
\


Fruit Filling
4 cups Blueberries (fresh or frozen your choice, in my case I use frozen ones and they turn out perfectly)
1/2 cup of Sugar
Juice of one lemon
1 tbsp Cornflour
1 tbsp Cinnamon


Method:
Place the cubed butter and sugar into the bowl of a food processor and whizz to combine to breadcrumb texture.

Then add in the flour and baking powder and whizz again.

Add egg, lemon zest and vanilla and process one more time.

The mixture should be soft and crumbly. Divide in two portions. (If you don’t have a food processor, use a scone knife to cut the butter through the sugar and flour, or rub it together between your fingertips.)

Press one half of the dough into the bottom of a baking paper-lined 28cm x 18cm (9 inch by 13 inch) slice tin. Don’t worry if it looks a little dry.

Now mix your sugar, lemon juice and cornflour together, and then mix thoroughly through your blueberries. Tip these over the base and spread out evenly with a spoon.

Mix the cinnamon through the remaining dough and then crumble over the top of the fruit, making sure to get the mixture right to the edges.

Bake in a moderate (160 degree celcius fan-forced or 180 degree oven) for 45 minutes until golden brown.

Cool in the tin before slicing.


As you can see this was a really straightforward recipe and great if you do not have time as it took me only 10 minutes to make and let the oven do the rest. My guest absolutely loved it. Like I mention earlier I use frozen blueberries and it did not compromise the taste in any way.

Wednesday, 17 September 2014

Pizza Scrolls

Thinking of what to cook for a child is hard but throw in a fussy one at that and the task becomes daunting. I was at the hairdressers having my 6 monthly hair cut when I saw a women's weekly cookbook for kids and decided to take a browse thru. They had some really good yet simple recipes for a busy working mum like me to whip up. Since the magazine was'nt mine I had my handphone out and took a pciture of it but I might just buy a copy of it if I do come across it.


Ingredients:
2 cups self raising flour
1 tbsp sugar
30 gm butter
3/4 cup milk
1/4 cup tomato paste
2 tsp italian herb blend
100 gm salami cut into strips
1 medium green capsicum cut into thin strips
2 cups grated tasty cheese


Method:
  1. Preheat oven to 160 degrees celcius. Grease a 19cm x 29cm slice pan.
  2. Place flour and sugar in medium bowl, use fingers to rub butter into flour mixture until it resembles coarse breadcrumbs. Stir in milk, mix to a soft sticky dough. knead dough lightly on floured surface, using rolling pin, roll dough out to 30cm x 40cm rectangle.
  3. Using the back of a large spoon, spread tomato paste all over base. Sprinkle herbs evenly over base; top with salami, capsicum then cheese.
  4. Starting from one of the long sides, roll dough tightly, trim edgses. Using a knife, cut roll carefully into 12 even slices. Bake scroll slices uncovered, in moderate oven for 30 minutes or until brown lightly.


This is such a easy and versatile recipe, took me only 15 minutes to prepare and you can basically use any ingredients you want for the topping. My daughter does not like capsicum so I had that swap to mushrooms instead, and she's not a fan of salami eitherl (told you that she was a fussy eater) so I change that to chicken which was easy enough as I had some leftover from roast the previous night. So as you can see you can use whatever you want or got leftover in the fridge.


She like it so much that she had one packed for her lunch box the next day, thumbs up for me as it saves me thinking what she could bring to school. Clearly this was a winning recipe and thanks to Women's Weekly.

Sunday, 14 September 2014

Peach Muffins with Crumb Topping

It's always a headache trying to think what to put in my daughter's lunch box for school. She can only have so many sandwiches before she gets sick of it. This muffins are a great snack, easy to make and fuss free, it has fruit in it and gives them energy to burn from the sugar topping.


Ingredients:
1 1/2 cup plain flour
1/2 castor sugar
2 tsp baking powder
1 tsp cinnamon
1/4 tsp salt
1/2 cup butter melted
1/4 cup milk
1 egg
2 medium peaches peeled, pitted and diced (if fresh ones are not available substitute with can peaches drained)
1 tsp lemon juice


Crumble

Batter

Topping:
1/2 cup chopped pecans
1/3 light brown sugar
1/4 cup plain flour
1 tsp cinnamon
2 tbsp melted butter

Method:

  1. Preheat oven to 400 degrees. 
  2. Combine all the topping ingredients in a bowl until mixture is crumbly, set aside.
  3. In a large bowl, combine the flour, sugar, baking powder, cinnamon and salt, stir to combine.
  4. Place the peaches in a bowl and toss with the lemon juice.
  5. In a measuring jug add the melted butter, milk and egg, whisk to thoroughly combine. Add to the dry ingredients and fold in till just moist. \Add the peaches to the batter and fold till just incorporated.
  6. Fill the muffin tins 3/4 full with the batter, sprinkle the topping. Bake for 20 to 25 minutes testing with a skewer to see if it's bake through.

The muffins went down a treat with my girl, she came home asking if she could bring some to school for her friends. I'm always on the look out for lunch box treat so if you are a mum or dad reading this and have some recipes to share, do send me the link or recipe for me to try and I'll have them featured on my blog.

Saturday, 6 September 2014

Cheese & Herb Brioche

It has been quite a while since I baked bread, and I was recently inspired to do so when I was going through some of my old recipe books while organising my ever expanding book shelf. I came across this recipe I had hand written and decided that it will be nice to have a nice warm loaf of bread that is home made.


Ingredients:
1/2 cup warm milk 
2 tsp dry yeast
1 tbsp caster sugar
3 1/2 cups bread flour
1 1/2 tsp salt
60gm butter cut into cubes
2 eggs beaten


Cheese & Herb Filling:
60gm butter melted
2 cloves garlic finely chopped
2 tsp dijon mustard
4 sprig thyme 
2 tbsp chives, finely chopped
1 1/2 cup grated cheddar or tasty cheese
Cheese & Herb filling

Method:
  1. Combine milk, yeast and sugar with 1/2 cup warm water in a jug. Set aside until foamy about 5 minutes. 
  2. In a large bowl combine flour and salt. Add butter and using your fingertips, rub in until mixture form crumbs. Add milk mixture and the eggs and keep mixing until until the dough comes together.
  3. Scrape the dough onto a lightly floured work surface and knead for 5 minutes or until smooth and elastic. Form into a ball, place in a clean bowl, cover with a tea towel and set aside in a warm place to proof for 1 hour or until double in size.
  4. Meanwhile make the cheese filling by combining the cooled butter with the garlic, mustard, thyme, chives and cheese, stir until well blended.
  5. Grease and flour a 10cm x 20cm loaf tin.
  6. Using your hands, stretch the dough into a rough 30cm square. Top with the cheese filling spreading the mixture to the edges of the dough.


  1. Cut the dough into 6 even strips that will be approximately 5cm wide. Stack the strips on top of each other, you will end up with a 30cm x 5cm stack with 6 layers.
  2. With the stack placed horizontally on a board, cut into 6 even pieces, each piece will be 5cm wide. Carefully placed each stacked piece cut side up in the loaf tin, repeating with remaining stacks to fill the loaf tin. Cover with a tea towel and set aside to proof for 1 hour or until well risen.
  3. Preheat oven to 180 degrees celcius.
  4. Bake for 40 minutes or until golden and it sounds hollow when tapped on the top. 


While the bread was baking in the oven my daughter T kept looking through the oven glass to see if it was done, the smell was just so inviting, filling the house with the fragrance of freshly baked bread with cheese and herb. As soon as I got it out of the oven T was waiting eagerly with the butter for a slice of the bread, it was hot and the cheese was melting through each slice. I'm glad I found this recipe as I'm definitely going to make it over and over again. This is a family favourite.


Monday, 1 September 2014

Lemon Buttermilk Cake

So I had a carton of leftover buttermilk that I did not want to waste and heaps of lemon sitting in the pantry. I relied on Mr Google to spit out recipes as I type buttermilk and lemons in the search engine as ingredients. There was heaps on recipe to sieve through and I settled on the following.


Ingredients:
2 1/2 cup cake flour
1 tsp baking powder 
1/2 tsp baking soda
1/2 tsp salt
3/4 cup buttermilk
3 tbsp grated lemon zest
1/4 cup lemon juice
1 tsp vanilla extract
1 3/4 cups caster sugar
12 tbsp unsalted butter
3 large eggs plus 1 yolk


Method:
  1. Preheat oven to 325 degrees. Line a 9 x13 baking pan with foil and lightly spray with oil.
  2. Combine flour, baking powder, baking soda and salt in a medium bowl
  3. Combine buttermilk, lemon juice and vanilla in a liquid measuring cup
  4. With electric mixer on medium speed, beat sugar and lemon zest until moist and fragrant about 1 minute.
  5. Transfer 1/4 cup sugar mixture to small bowl, cover and reserve.
  6. Add butter to remaining sugar mixture and beat light and fluffy about 2 minutes.
  7. Beat in eggs and yolk one at a time, until incorporated. Reduce speed to low.
  8. Add flour mixture in 3 additions, alternating with 2 additions of buttermilk mixture and mix until smooth. 
  9. Scrape batter into prepared pan and smooth top. Bake until cake is golden brown for about 25 to 30 minutes, insert a toothpick and if it comes out clean the cake is ready. Transfer to a wire rack and let cool for 10 minutes.


Glaze:
3 cups icing sugar
2 tbsp lemon juice
2 tbsp buttermilk 


Method:

  • Whisk icing sugar, lemon juice and buttermilk until smooth. Gently spread glaze over warm cake and sprinkle evenly with reserve sugar and zest mixture. 
  • Cool completely for at least 2 hours before serving.


The sponge cake had a nice hint of lemon in it, it was soft and spongey. Hubby felt that it could have done without the icing as he's trying to cut down on his sugar intake but I felt that it make the cake look "naked" without anything to cover the top so I told him to scrape off the icing if he did not want it on his cake. Easy problem solved, anyway do try the recipe and if you like do without the icing.


Saturday, 23 August 2014

Spanakopita

I had left over phyllo pastry from the last time I make Baklava which is in my previous blog. I did not want to make another sweet dessert with it so I decided on a savoury pie instead. Spanakopita is a greek pie of feta and ricotta cheese and spinach, it's a great vegetarian dish even my hubby who is a ardent carnivorous enjoyed the pie.


Ingredients:

1 bunch spinach 
300 gm feta
100 gm ricotta
40 gm grated parmesan
5 eggs
2 tbsp dry breadcrumbs
1/4 tsp ground nutmeg
1/2 tsp ground black pepper
60 ml olive oil
2 dill sprigs
4 spring onions
375 gm filo pastry
125 gm melted butter


Method:

Preheat the oven to 180°C.

Trim the roots from the spinach or if using silverbeet, cut out the stems. Wash leaves and drain well. Coarsely shred and set aside (see Note).

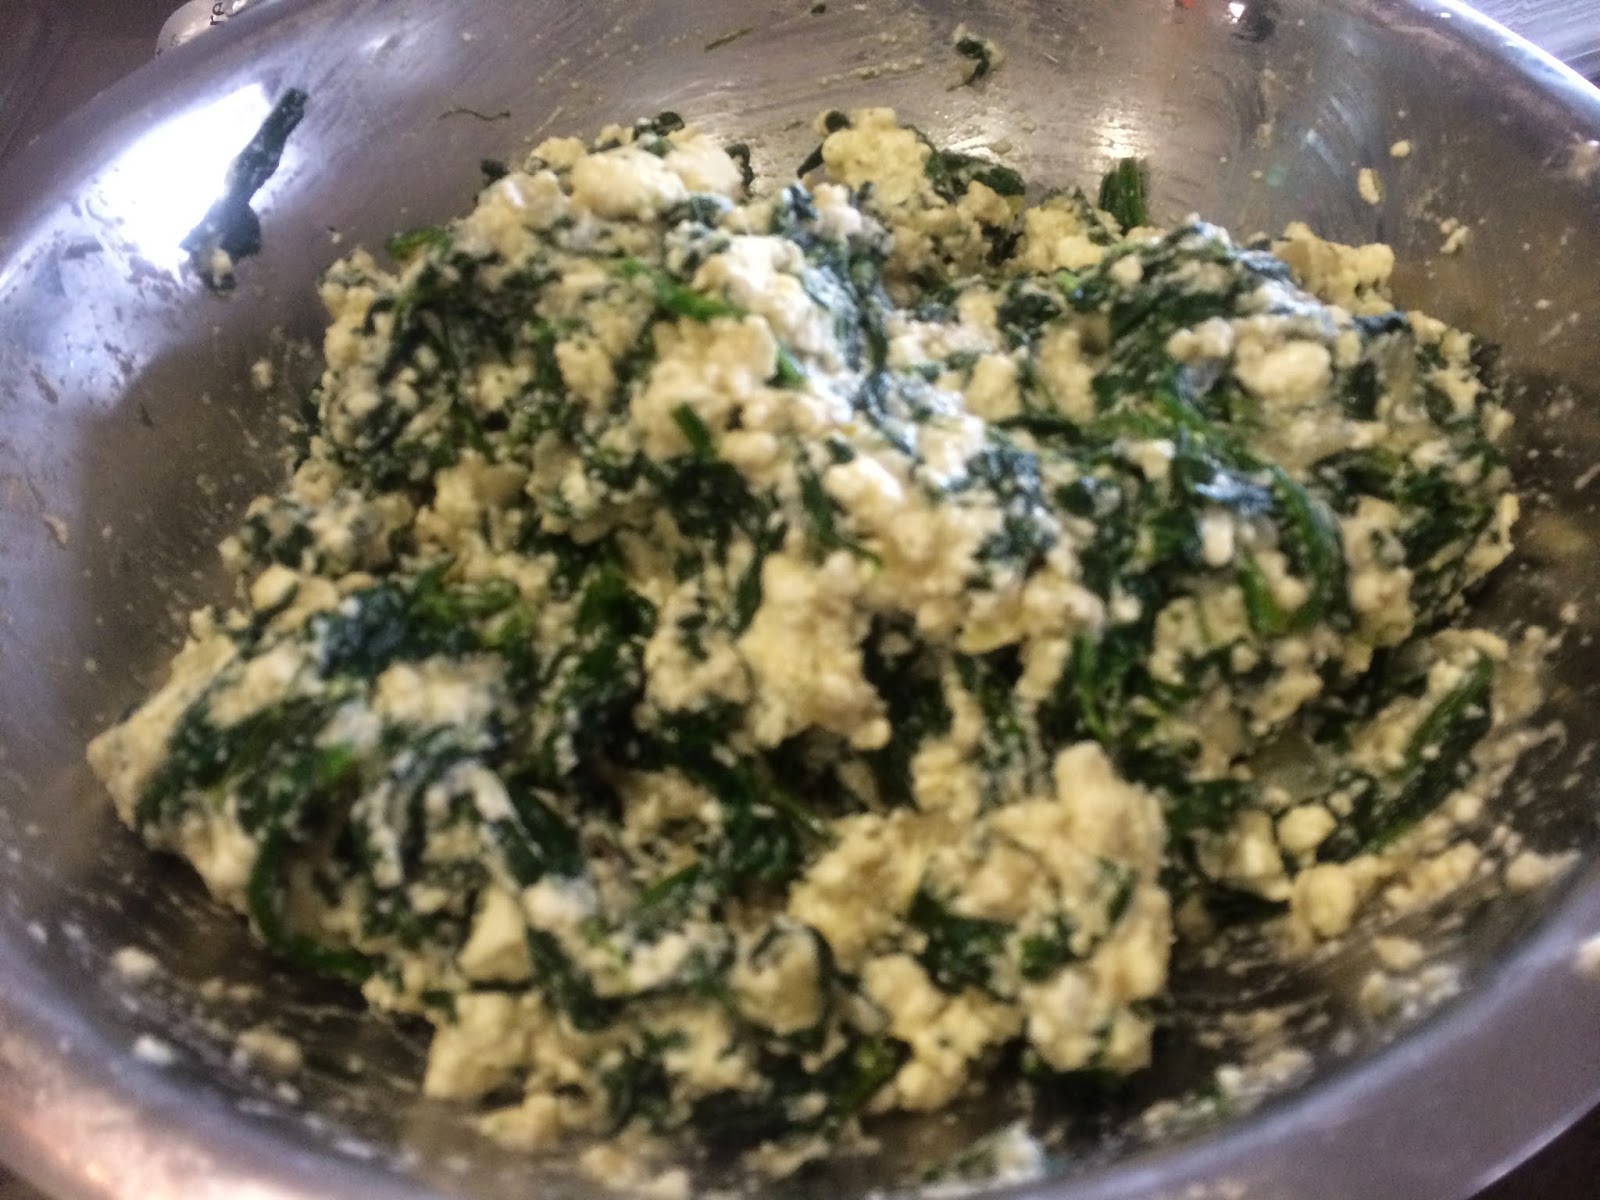
Place the feta in a large bowl and roughly mash with a fork. Add the ricotta, hard cheese, eggs, breadcrumbs, nutmeg, pepper, oil, dill and spring onions. Mix with the fork to combine. Place the spinach or silverbeet on top and mix lightly with your hands.

Lightly oil or butter a 20 cm x 30 cm x 5 cm baking dish. Lay the filo out on a work surface. Line the dish with a sheet of filo and brush it with butter. Top with another sheet of filo brushed with butter and continue until about half the filo is used. When not using the filo, cover it with a dry tea towel and then a damp one to keep it from drying out.

Use your hand or a large metal spoon to gently mix the spinach filling until thoroughly combined. Tip into the filo base and spread out evenly. Layer with the remaining sheets of filo brushed with butter, ensuring the final sheet is well buttered. Trim off any overhanging pastry and tuck in the sides.

Use a sharp knife to score the pastry into diamonds. Pierce the pastry once or twice to allow air to escape during baking. Sprinkle lightly with water and bake in the oven for 45–60 minutes or until well browned. Gently shake the baking dish; the spanakopita should slide easily when it is cooked. Cover with foil if it is over-browning. Cool on a rack for 15 minutes before serving.


(Note: The spinach can be prepared a day ahead it has to be as dry as possible as we do not want the pie to be soggy.)


This like the baklava recipe was relatively easy to make, except for the assembly where you need to work really quickly with the filo pastry so that it does not dry out. The end result was a lovely cheesy pie with the healthy goodness of the spinach. I have some greek colleagues at work and I brought a few pieces of pie for them and they say it was as authentic as it could be and offered me another challenge to make another famous greek dessert, Galaktoboureko which I gladly accepted. Guess there must be some greek in me.

Sunday, 17 August 2014

Billie's Italian Cream Cake

This recipe found me I did not exactly go out to look for it as a matter of fact I was researching other baking recipes to try when I chance upon this blog from Pioneer Woman and as I read thru her blog I felt compelled to try it she just make it sound so compelling. If the cake did not turn out well I was going to message her and get my money back for the ingredients I wasted. No just joking I was'nt going to, but lucky for her this recipe was a winner.

Cake batter
Egg white mixture

Ingredients:

Cake Recipe

  • 1 stick Butter
  • 1 cup Vegetable Oil
  • 1 cup Sugar
  • 5 whole Eggs, Separated
  • 3 teaspoons Vanilla
  • 1 cup Coconut
  • 2 cups All-purpose Flour
  • 1 teaspoon Baking Soda
  • 1 teaspoon Baking Powder
  • 1 cup Buttermilk


Cream Cheese Frosting


  • 2 packages (8 Oz) Cream Cheese
  • 1 stick Butter
  • 2 teaspoons Vanilla
  • 1 package 2 Lb Powdered Sugar
  • 1 cup Chopped Walnuts
  • 1 cup Sweetened, Flaked Coconut


 Method:

  1. Preheat oven to 350 degrees. Grease and flour three 9-inch round cake pans.
  2. Beat egg whites until stiff. Set aside.
  3. Cake: In a large bowl, cream together butter, oil, and sugar until light and fluffy. Mix in the egg yolks, vanilla, and coconut.
  4. In a separate bowl, mix flour, baking soda, and baking powder.
  5. Alternate adding buttermilk and dry ingredients to wet ingredients. Mix until just combined, then fold in egg whites.
  6. Pour evenly into the three prepared pans, then sprinkle the top of each pan with 1 (at least) tablespoon sugar.
  7. Bake in preheated oven for 20 to 25 minutes, or until toothpick comes out clean. Remove from oven and allow to cool for 15 minutes, then turn the cakes out onto cooling racks and allow to cool completely.


Frosting:
  1. In a medium bowl, combine cream cheese, butter, vanilla, and powdered sugar. Beat until light and fluffy.
  2. Stir in chopped walnuts and sugared coconut. Spread between layers and serve.

Hmm I have to improve on my cake slicing skills as it does not look the best but the taste was something else it was really moist and the coconut gave it another depth of flavour. I usually bring some cake to work to share the calories with my colleagues but in this particular instant my hubby told me that I'm not taking any to work as it was too good to share.


Sunday, 10 August 2014

Pandan Cheese Roll

I use to love this cake when I was growing up in Singapore I would have it least once a week from the local bakery. But ever since moving to Australia most of the local delicacies I can't get I end up googling for recipes and making them on my own. Recently I had cravings for this particular cake and went about to search for a recipe I could try. I found one on Zakia's blog and decided to give it a try. Note that this recipe uses a lot of eggs mainly the yolks so you would have a lot of whites left over. I usually save them to use for breakfast as a egg white omelette or for other baking recipes.


Ingredients:
10 egg yolks
1 egg white
100 gr Castor sugar
75 gr all purpose flour
1/4 tsp vanilla powder
100 gr butter (cream until fluffy)
300 gr cheddar cheese (grated)
1/2 tsp pandan paste

Cream Cheese Frosting
150 gr butter
250 gr cream cheese
50 gr icing sugar

Instruction :

  1. Preheat oven to 200 Celsius degrees .Butter 26x26x2 square baking pan, line pan with parchment paper 
  2. In the bowl of electric mixer fitted with the whisk attachment, beat egg white, egg yolks, & sugar on high speed until thick and pale.
  3. Put flour mixture with vanilla, then fold together with wooden spoon or rubber spoon until blend. Then add creamy butter & pandan paste, fold until well blend.
  4. Transfer the batter to prepared pan. Bake for 25-30 minutes or until a cake tester inserted in to middle comes out clean and the cake surface become dry enough.
  5. Turn out cake, then put on the baking paper. Turn out the used parchment paper, then roll it when it still hot. Set a side.
  6. Cream butter & cream cheese until creamy and fluffy with electric mixer. Add icing sugar then mix again until the batter look pale.
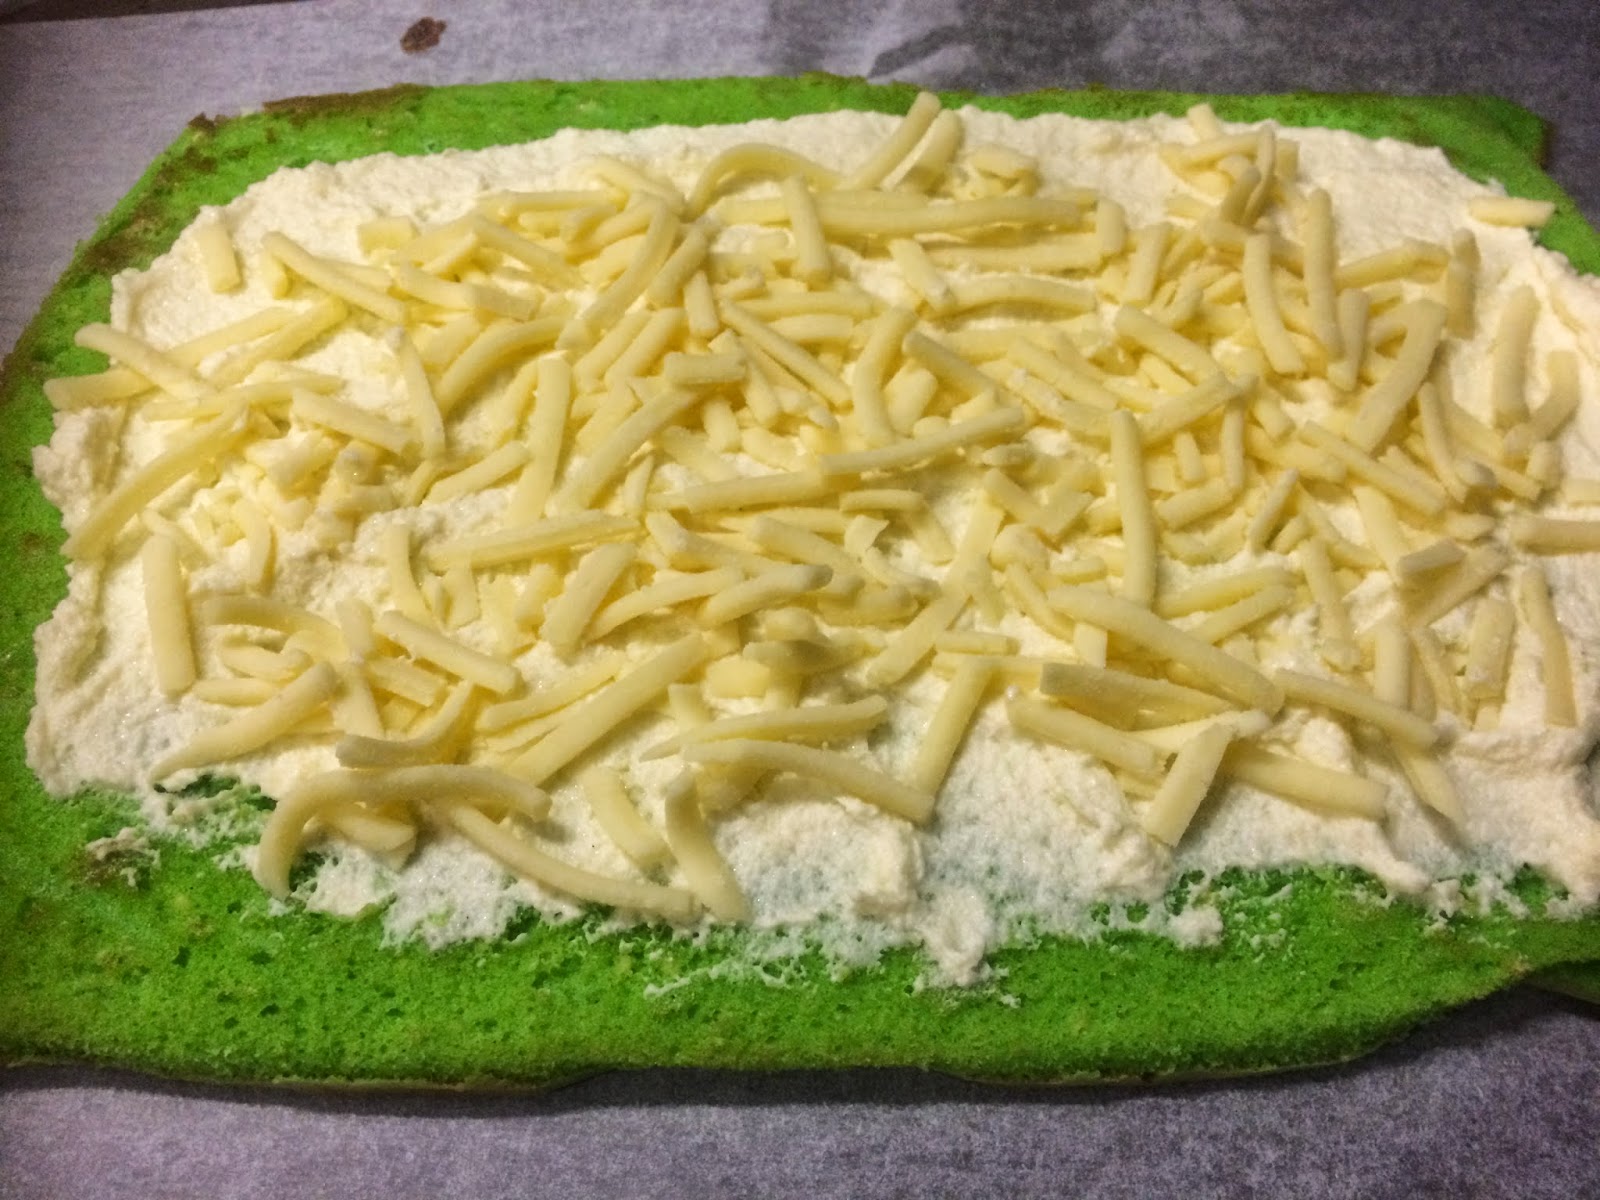
  7. Open the cake roll. Spread the cream cheese frosting at the surface and smooth with offset spatula. Sprinkle with grated cheese then roll again. 
  8. Rub the surface with the remaining cream cheese and  sprinkle it with grated cheese.


This was a relatively easy recipe except that you had to have patience for the mixture to reach a thick and pale consistency do not rush the process. I gave it a good 10 mins for the mixture to reach that consistency and the end result was a light fluffy sponge. The next time I do make this again though I will cut the cream cheese frosting by half as I thought it was a bit too much sugar hit.

Wednesday, 6 August 2014

Sticky Chewy Chocolate Chip Cookie

Since moving into a new home I decided that in my new neighborhood that I was going to make an effort to know my neighbors and be friendly. So I succeeded and I got to know a few neighbors from my street and one of them decided to host a party for all the neighbors to come together for a meet and greet. The demographics of the neighborhood I'm in are couples with young or school going kids which is ideal since I have a 8 year old. So we were all told to bring a plate of something to contribute and since the host was taking care of the mains, she told us to bring dessert. I know there were going to be lots of kids and I wanted to make something they would enjoy and which kid does not like cookies.


Ingredients:
  • 1/2 cup coconut oil
  • 2 eggs
  • 1 and half cup brown sugar
  • 1/2 tsp salt
  • 1 tsp baking powder
  • 1/4 tsp baking soda
  • 1 tbsp vanilla 
  • 1 and 3/4 cup plain flour 
  • 8 oz mini chocolate chip
  • 8 oz regular chocolate chip 
  • 8 oz chopped hazelnuts


Method:
  • Preheat oven to 180 degrees
  • In a large bowl beat the coconut oil, eggs and sugar by hand or with a mixer
  • Add salt, baking powder, baking soda, vanilla and flour and mix well.
  • Mix in chocolate chips and hazelnuts
  • Let dough rest in the fridge for a few hours or overnight
  • Roll dough into large balls and place on baking tray line with parchment paper
  • Bake for 8 to 10 minutes until cookie browns on the edges
  • Remove from tray and let cool 

This is such a easy recipe but it was a real hit with the kids. As soon as I brought the tray full of cookies over the kids were eyeing them with intensity although they were not allowed any until after dinner. So like good obedient kids they gobbled up their dinner and headed straight to the cookie tray where the cookies were and they were gone in minutes. I left the party with a big cheshire cat smile smack across my face.


Thursday, 31 July 2014

Baklava

Baklava is a greek/turkish dessert which is a sweet pastry made of layers of filo pastry, filled with nuts in between and soak with sugar syrup. Hubby absolutely loves this dessert and every time he sees it on display at any cafe he never resists the urge to buy them. I've been wanting to make this for a while but after reading how difficult filo is to work with I abandon the idea of making it as it seems more convenient to buy. So what make me change my mind? Well I had all this different nuts in my pantry and there were a little bit left in each pack and thought what would be a good recipe that could use all this nuts up, then a little bulb went off in my head. Baklava! 

Mixture of ground nuts
Sheets of filo pastry


Filling:
  • 1 pound of combination of nuts (Walnuts, pistachio, almonds) use whatever you like 
  • 2 tsp ground cinnamon
  • 1/4 tsp salt
  • 2 sticks unsalted butter melted
  • 1 pound filo pastry 

Syrup:
  • 1 cup sugar
  • 1 cup honey
  • 3/4 cup water
  • 1 tbsp lemon juice
  • 2 cinnamon sticks 
  • zest from one lemon 
  • pinch of ground cloves
  • pinch of ground cardamom 


Best to cut the pastry before you bake it

Method:
  • Start by making the syrup so it has enough time to cool. Combine all the syrup ingredients in a saucepan.
  • Cook over medium heat until the sugar has dissolved. Reduce the heat to low and cook for an additional 10 minutes. Remove the cinnamon sticks and lemon zest and leave to cool.
  • Finely chop the nuts with a knife or food processor. In a bowl add the cinnamon and salt to the chopped nuts and combined. 
  • Melt the butter in the microwave. Using a pastry brush, lightly coat a 13 by 19-inch baking dish with the butter.
  • Open the package of filo pastry and place the thin sheets on a clean work surface. Measure the filo sheets to fit your baking dish. Trim the excess off with a sharp knife and discard the scraps.
  • Preheat oven to 180 degrees

  • Place one sheet of the filo pastry in the baking dish, and lightly brush with melted butter. Repeat this process with 6 more sheets for a total of 7 layers brushing each layer with the melted butter.
  • On top of the 7th filo pastry spread with 3/4 cup of the nut mixture evenly. Repeat with 7 more sheets of filo, buttering each layer with melted butter and topping with nuts on the 7th layer. Continue this process until you have used up all the nut mixture. Layer another 7 sheets of filo on the last nut layer.
  • Use a very sharp knife to cut thru the layers diagonally to form a diamond shape.
  • Bake the Baklava until golden brown approximately 40 minutes
  • Remove the Baklava from the oven and cool on a wire rack for 5 minutes. Drizzle the cool syrup over the warm Baklava. Allow to soak in for several hours or overnight before serving.

Well after trying this recipe out I realise it was not as difficult as I thought it was going to be, I just had to prove myself wrong that whatever I put my mind to I can do. And I get to enjoy the fruits of my labour with a nice cup of turkish tea, ok no I do not have turkish tea but it would be nice if I did.


Friday, 25 July 2014

Greek Walnut Cake with Creme Anglaise

Most of this recipes I have made a few weeks ago but never had a chance to post them quick enough on my blog as I have had some issues to deal with. This is another recipe from My Kitchen Rules 2014 series which was made by the greek twins that received very good comments and high scores from Pete Evans and Manu Fidel. If it is good enough for their taste bud then it's worth me trying the recipe out.


Ingredients

Cake:
Melted butter, to grease
60g (½ cup) crushed walnuts, toasted
Icing sugar, to serveCake
140g (2 cups) fresh breadcrumbs
150g (1 cup) plain flour
300g (2½ cups) finely chopped walnuts, toasted
2 tsp baking powder
2 tsp ground cinnamon
¼ tsp ground cloves
6 eggs, separated
250g unsalted butter, at room temperature
220g (1 cup) caster sugar
1 orange, zested, juiced
2 tbs brandy

Crème Anglaise
400ml milk
200ml pouring cream
1 vanilla bean, seeds scraped
4 egg yolks
110g (½ cup) caster sugar

Sugar syrup
220g (1 cup) caster sugar
2 cinnamon quills
1 lemon, zested, juiced

Method:
  1. Preheat oven to 180C. Grease a 20cm x 30cm cake pan with melted butter and line with baking paper, extending over longer side by 5cm.
  2. To make cake, combine breadcrumbs, flour, walnuts, baking powder and spices in a large bowl. Set aside. Place egg whites in the bowl of an electric mixer and beat (on medium speed) for 2 minutes to soft peaks. Set aside.
  3. Using an electric mixer, beat butter and sugar (on medium speed) until pale and fluffy. Beat in egg yolks, orange zest and juice, and brandy. Stir in breadcrumb mixture, then fold in egg whites. Spoon mixture into prepared pan and bake for 30 minutes or until a skewer inserted into the centre of the cake comes out clean.
  4. To make crème anglaise, place milk, cream and vanilla seeds in a medium heavy-based saucepan over medium heat and cook, without boiling, until hot.
  5. Whisk egg yolks and sugar in a medium bowl until combined, then whisking continuously, gradually add hot milk mixture to egg yolk mixture until combined. Return mixture to same pan over medium-low heat. Using a wooden spoon, stir for 7 minutes or until mixture is thick enough to coat the back of the spoon. 
  6. Strain mixture through a fine sieve into a bowl.
  7. To make sugar syrup, place all ingredients and 500ml (2 cups) water in a medium saucepan over low heat and stir for 3 minutes or until sugar dissolves. Simmer for 10 minutes or until reduced by half. Pour hot syrup over hot cake in pan, then set aside to allow cake to absorb syrup.
  8. Slice cake and place on serving plates. Dust with sifted icing sugar, then pour over a little crème anglaise. Serve with remaining crème anglaise to the side.

Unfortunately this time I was so excited to get into the baking of this cake that I negelcted to take pictures of the steps I took but if I do ever make this again I'll be sure to take pictures and upload it here and update the blog.